Building a DIY Humidity Tray for Heat-Stressed Plants
Cheap, effective, and a literal lifesaver for your tropical collection during a heatwave.
The DIY Guide
There is a persistent myth in the plant community that you either have a 'green thumb' or you don't. That’s nonsense. Gardening is a skill, a series of observations and reactions. Specifically, when navigating Building a DIY Humidity Tray for Heat-Stressed Plants, the key is recognizing the right variables. I spent years killing perfectly good foliage before I finally understood the mechanics of DIY humidity tray. Let's strip away the complicated jargon and look at real, actionable steps you can take today.
🌱 You Might Also Enjoy
Table of Contents
Understanding the Core of Diy Humidity Tray
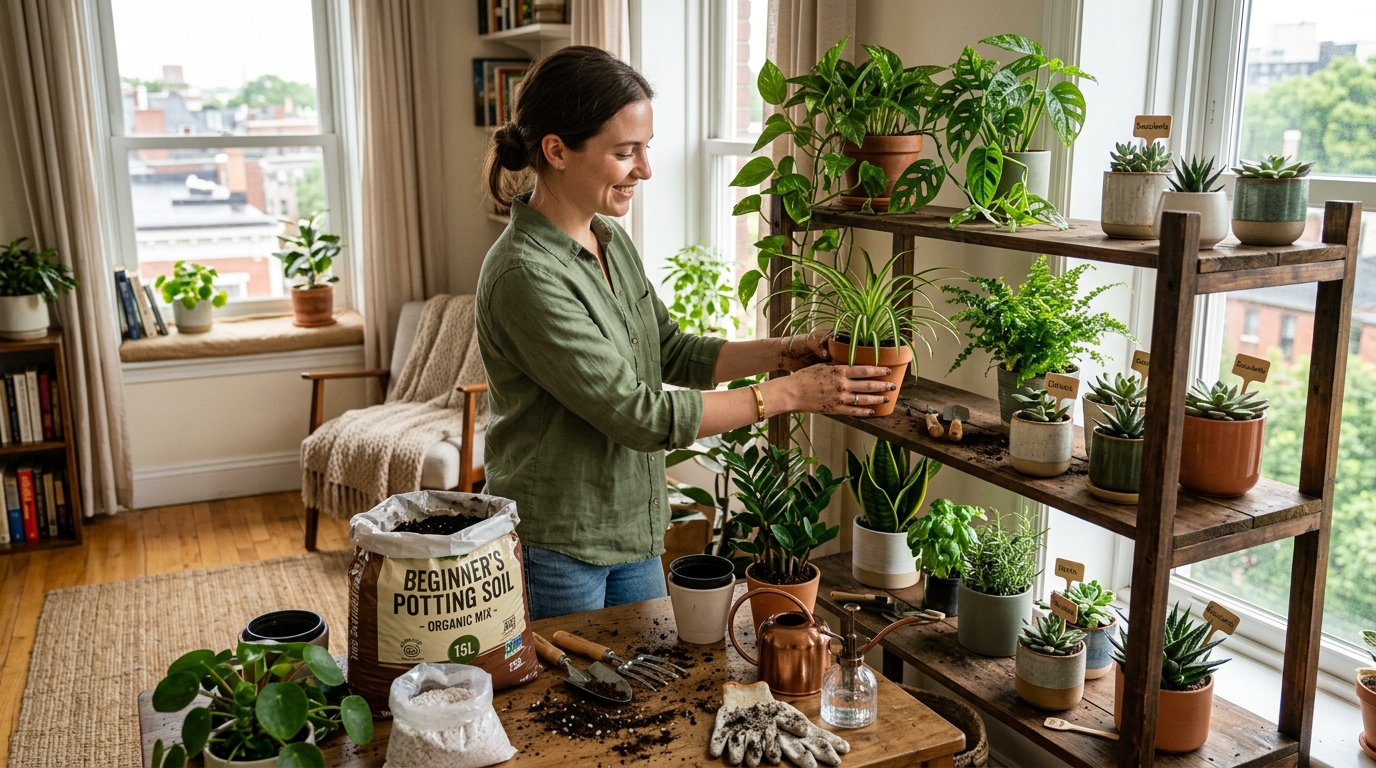
Humidity is the invisible factor that makes or breaks an indoor garden. Most tropical houseplants evolved in jungles with 80% humidity, and we expect them to thrive in 20% apartment air. Dealing with Building a DIY Humidity Tray for Heat-Stressed Plants requires us to artificially bump up that ambient moisture. Whether it's a pebble tray or a dedicated humidifier, getting DIY humidity tray right will stop those crispy brown edges from forming.
Let’s talk about light. We throw around terms like 'bright indirect light' as if they mean the same thing in a basement window versus a south-facing balcony. The intensity of your light source changes everything about Building a DIY Humidity Tray for Heat-Stressed Plants. A plant receiving maximum light will process water and DIY humidity tray much faster. You absolutely cannot separate your watering schedule from your light exposure.
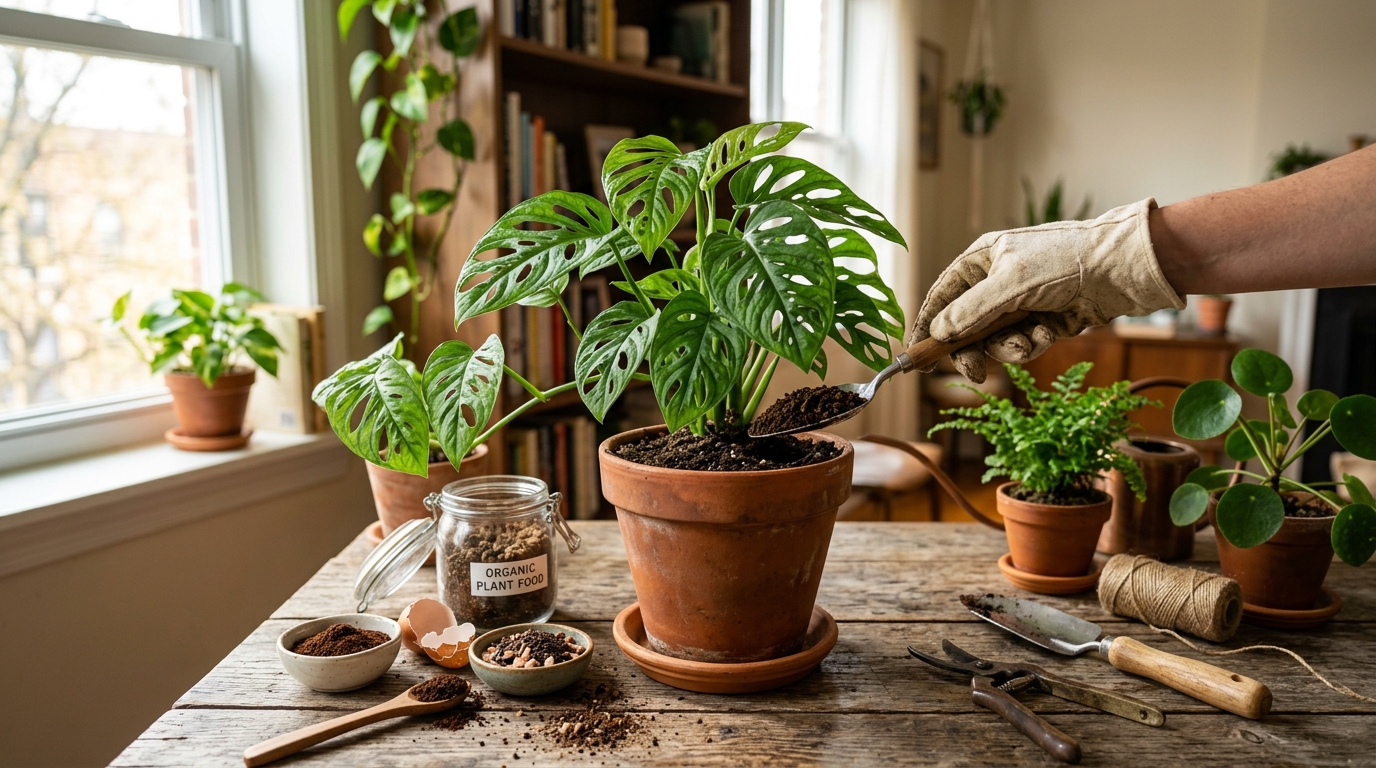
Let’s bust a myth right now: rocks at the bottom of a pot do not improve drainage. In fact, they create a 'perched water table' that keeps the roots closer to the soggy zone. If you have been doing this while struggling with Building a DIY Humidity Tray for Heat-Stressed Plants, it’s time to repot. Proper drainage requires a uniform soil mix right to the bottom, ensuring that DIY humidity tray doesn't lead to suffocation.
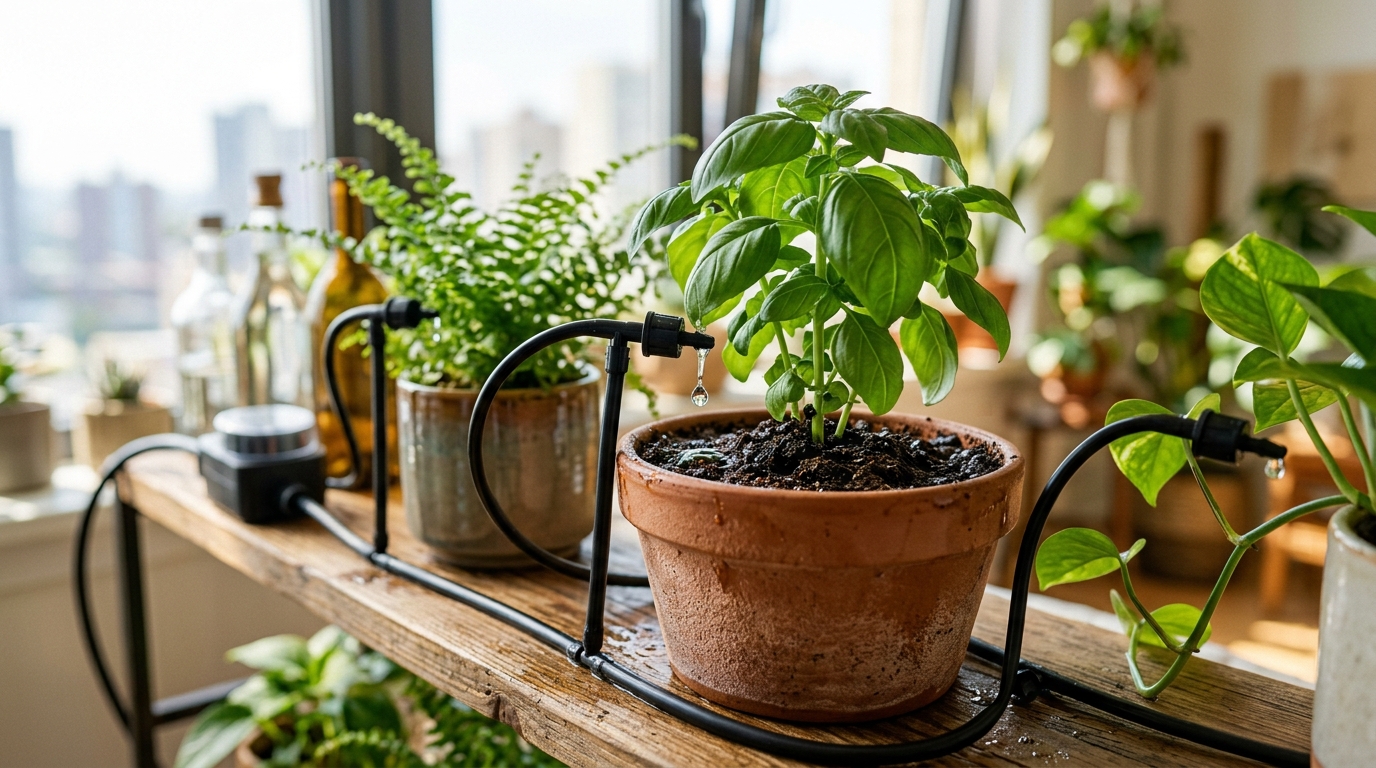
I want to share a harsh truth. Overwatering is the silent killer, but underwatering is the noisy one. When people research Building a DIY Humidity Tray for Heat-Stressed Plants, they often overcompensate. They see a dry surface and panic-douse the pot. But the root zone tells a completely different story. Mastering DIY humidity tray involves getting your hands dirty—literally. Feel the soil two inches down. If it's damp, walk away. It's an exercise in restraint.
🌿 Related Guide: Best Apps for Indoor Plant Care in 2026
Why Building a DIY Humidity Tray for Heat-Stressed Plants Matters More Than You Think
One of the biggest mistakes people make when dealing with Building a DIY Humidity Tray for Heat-Stressed Plants is assuming that all plants communicate their needs the same way. A spider plant might get crispy tips, while a pothos just dramatically flops over. Recognizing these distinct distress signals is tied directly to managing DIY humidity tray. If you treat a symptom without understanding the root cause, you are basically putting a band-aid on a broken leg.
It’s important to understand the concept of micro-climates within your own home. The temperature near a winter windowpane can be ten degrees colder than the center of the room. When trying to optimize Building a DIY Humidity Tray for Heat-Stressed Plants, moving a plant just three feet away from a draft can completely alter its response to DIY humidity tray. Never underestimate the power of geography, even within a 500-square-foot space.
Let’s bust a myth right now: rocks at the bottom of a pot do not improve drainage. In fact, they create a 'perched water table' that keeps the roots closer to the soggy zone. If you have been doing this while struggling with Building a DIY Humidity Tray for Heat-Stressed Plants, it’s time to repot. Proper drainage requires a uniform soil mix right to the bottom, ensuring that DIY humidity tray doesn't lead to suffocation.
Let’s talk about light. We throw around terms like 'bright indirect light' as if they mean the same thing in a basement window versus a south-facing balcony. The intensity of your light source changes everything about Building a DIY Humidity Tray for Heat-Stressed Plants. A plant receiving maximum light will process water and DIY humidity tray much faster. You absolutely cannot separate your watering schedule from your light exposure.
The Analogy of Diy Humidity Tray
Dealing with DIY humidity tray is a lot like baking. If you mess up the ratio of flour to water, the cake falls flat. Similarly, the balance of light, water, and soil in Building a DIY Humidity Tray for Heat-Stressed Plants must be precise. There is very little room for guesswork.
Imagine Building a DIY Humidity Tray for Heat-Stressed Plants as a bank account. Sunlight and fertilizer are the deposits, while new growth and blooming are the withdrawals. If you demand withdrawals without making deposits through proper DIY humidity tray, your plant goes bankrupt.
Navigating DIY humidity tray without understanding humidity is like trying to breathe through a straw while running a marathon. The plant is constantly struggling for baseline survival, making true Building a DIY Humidity Tray for Heat-Stressed Plants impossible.
Trying to fix Building a DIY Humidity Tray for Heat-Stressed Plants with a generic store-bought solution is like trying to cure a migraine with a band-aid. You have to address the underlying environmental stress—the DIY humidity tray—before the plant can heal.
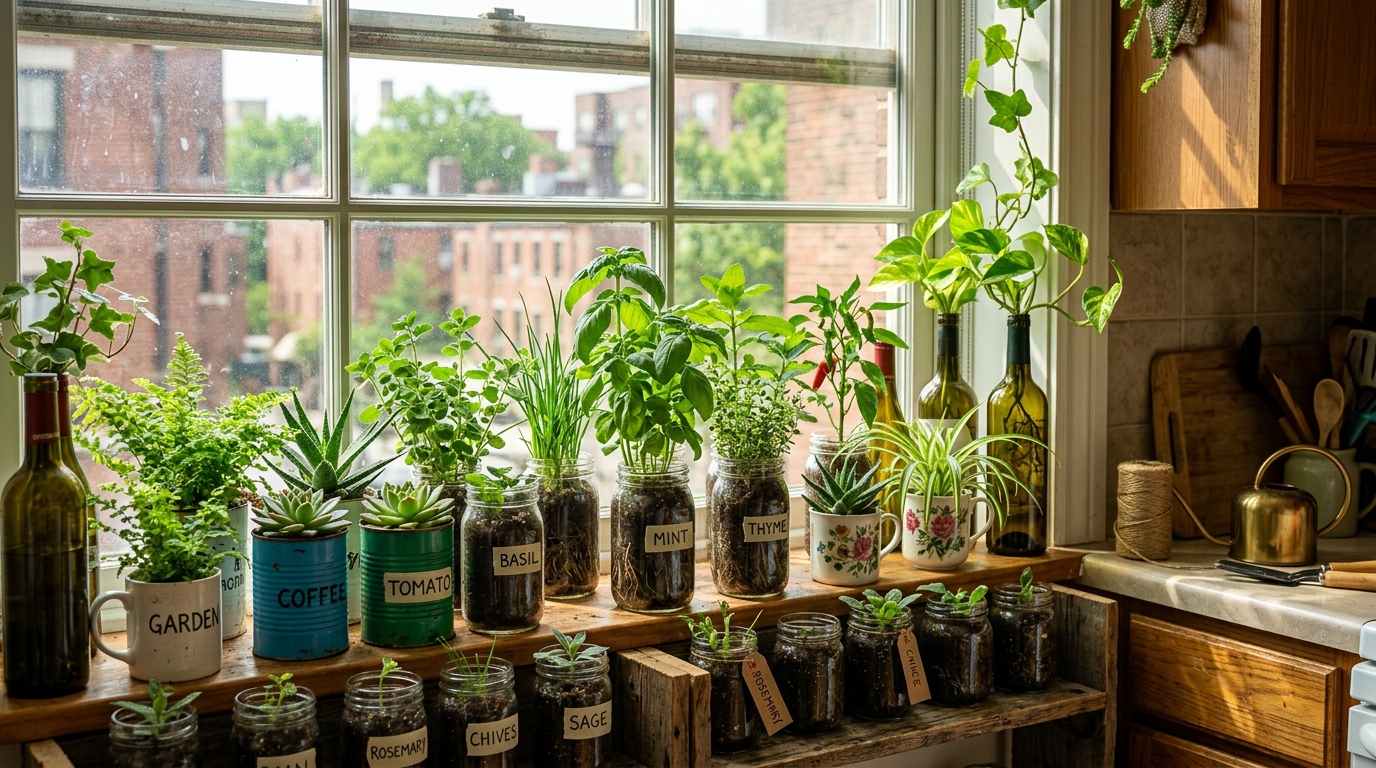
- Takeaway: Quick Hack: If you're struggling with Building a DIY Humidity Tray for Heat-Stressed Plants, group your plants together. They transpire and create a shared microclimate of higher humidity.
- Takeaway: Golden Rule of DIY humidity tray: When in doubt, wait it out. It is infinitely easier to revive a thirsty plant than a drowned one.
- Takeaway: Pro Tip: Always use room temperature water. Cold tap water can shock the root system, complicating Building a DIY Humidity Tray for Heat-Stressed Plants.
The Environmental Factors We Ignore
Let's shift gears and look at the actual container you are using. The type of pot—terracotta versus plastic versus ceramic—completely changes the microclimate around the roots. For Building a DIY Humidity Tray for Heat-Stressed Plants, choosing a breathable material like terracotta can save your plant from root rot, particularly when you are still figuring out DIY humidity tray. Plastic pots trap heat and moisture, which is a recipe for disaster in a hot room.
Think about DIY humidity tray like feeding a picky toddler. You can't just throw standard nutrients at the problem and walk away. The environment dictates the appetite. In hotter, more enclosed spaces, the rate at which moisture evaporates fundamentally alters how nutrients are absorbed. This is why standard advice often fails us in specific conditions. We have to recalibrate our entire approach to Building a DIY Humidity Tray for Heat-Stressed Plants.
Soil compaction is a relentless enemy. After a few months of top-watering, potting mix compresses into a hard brick, practically repelling water. Water just runs down the sides of the pot straight out the drainage hole. You might think you are watering effectively for Building a DIY Humidity Tray for Heat-Stressed Plants, but the center root ball remains bone dry. Aerating the soil with a chopstick is essential for proper DIY humidity tray.
It’s important to understand the concept of micro-climates within your own home. The temperature near a winter windowpane can be ten degrees colder than the center of the room. When trying to optimize Building a DIY Humidity Tray for Heat-Stressed Plants, moving a plant just three feet away from a draft can completely alter its response to DIY humidity tray. Never underestimate the power of geography, even within a 500-square-foot space.
🛠️ Useful Tool: Heat Stress Risk Calculator
Real-World Survival Strategies
I want to share a harsh truth. Overwatering is the silent killer, but underwatering is the noisy one. When people research Building a DIY Humidity Tray for Heat-Stressed Plants, they often overcompensate. They see a dry surface and panic-douse the pot. But the root zone tells a completely different story. Mastering DIY humidity tray involves getting your hands dirty—literally. Feel the soil two inches down. If it's damp, walk away. It's an exercise in restraint.
Humidity is the invisible factor that makes or breaks an indoor garden. Most tropical houseplants evolved in jungles with 80% humidity, and we expect them to thrive in 20% apartment air. Dealing with Building a DIY Humidity Tray for Heat-Stressed Plants requires us to artificially bump up that ambient moisture. Whether it's a pebble tray or a dedicated humidifier, getting DIY humidity tray right will stop those crispy brown edges from forming.
It’s important to understand the concept of micro-climates within your own home. The temperature near a winter windowpane can be ten degrees colder than the center of the room. When trying to optimize Building a DIY Humidity Tray for Heat-Stressed Plants, moving a plant just three feet away from a draft can completely alter its response to DIY humidity tray. Never underestimate the power of geography, even within a 500-square-foot space.
Let's shift gears and look at the actual container you are using. The type of pot—terracotta versus plastic versus ceramic—completely changes the microclimate around the roots. For Building a DIY Humidity Tray for Heat-Stressed Plants, choosing a breathable material like terracotta can save your plant from root rot, particularly when you are still figuring out DIY humidity tray. Plastic pots trap heat and moisture, which is a recipe for disaster in a hot room.
Learning from Others
Mark, a beginner gardener, bought a beautiful Calathea. Within a week, it was crispy. He assumed he failed at Building a DIY Humidity Tray for Heat-Stressed Plants. But after we analyzed his routine, we found he was misting the leaves instead of increasing ambient humidity—a classic mistake related to DIY humidity tray. A cheap humidifier reversed the damage entirely.
Consider the case of a tiny studio apartment in Austin, Texas. The resident wanted a jungle but faced 100-degree ambient heat outside, baking the windows. By implementing a specific strategy for Building a DIY Humidity Tray for Heat-Stressed Plants, utilizing sheer curtains and deep, infrequent soakings, they managed to keep delicate ferns alive. It proved that DIY humidity tray isn't just theory; it's a practical survival mechanism.
There was a local cafe that wanted a living wall, but the drafts from the front door constantly triggered Building a DIY Humidity Tray for Heat-Stressed Plants issues. They were replacing plants monthly. We swapped the delicate varieties for robust Snake Plants and ZZ plants, fundamentally changing the DIY humidity tray dynamic. The wall has been thriving untouched for two years now.
Last summer, Sarah from Brooklyn reached out to me. Her entire collection of monsteras was turning yellow despite her strict watering schedule. We looked closely at Building a DIY Humidity Tray for Heat-Stressed Plants and realized her AC unit was blowing directly on the leaves, dropping the localized humidity to desert levels. Once we moved them and adjusted her approach to DIY humidity tray, new, healthy fenestrated leaves unfurled within weeks.
Putting It All Together for Your Space
I want to share a harsh truth. Overwatering is the silent killer, but underwatering is the noisy one. When people research Building a DIY Humidity Tray for Heat-Stressed Plants, they often overcompensate. They see a dry surface and panic-douse the pot. But the root zone tells a completely different story. Mastering DIY humidity tray involves getting your hands dirty—literally. Feel the soil two inches down. If it's damp, walk away. It's an exercise in restraint.
One of the biggest mistakes people make when dealing with Building a DIY Humidity Tray for Heat-Stressed Plants is assuming that all plants communicate their needs the same way. A spider plant might get crispy tips, while a pothos just dramatically flops over. Recognizing these distinct distress signals is tied directly to managing DIY humidity tray. If you treat a symptom without understanding the root cause, you are basically putting a band-aid on a broken leg.
Think about DIY humidity tray like feeding a picky toddler. You can't just throw standard nutrients at the problem and walk away. The environment dictates the appetite. In hotter, more enclosed spaces, the rate at which moisture evaporates fundamentally alters how nutrients are absorbed. This is why standard advice often fails us in specific conditions. We have to recalibrate our entire approach to Building a DIY Humidity Tray for Heat-Stressed Plants.
Humidity is the invisible factor that makes or breaks an indoor garden. Most tropical houseplants evolved in jungles with 80% humidity, and we expect them to thrive in 20% apartment air. Dealing with Building a DIY Humidity Tray for Heat-Stressed Plants requires us to artificially bump up that ambient moisture. Whether it's a pebble tray or a dedicated humidifier, getting DIY humidity tray right will stop those crispy brown edges from forming.
Frequently Asked Questions
Q: How often should I water my plants when dealing with Building a DIY Humidity Tray for Heat-Stressed Plants?
A: It completely depends on the light and temperature. Always check the top two inches of soil instead of sticking to a strict calendar schedule.
Q: Can AC drafts negatively impact DIY humidity tray?
A: Absolutely. Constant cold drafts can cause severe cellular damage to tropical plants, leading to rapid leaf drop.
Q: Why are the tips of my leaves turning brown despite proper DIY humidity tray?
A: Brown crispy tips are almost always a sign of low ambient humidity or a buildup of minerals from tap water. Try switching to distilled water.
Q: Is misting my plants a good way to handle Building a DIY Humidity Tray for Heat-Stressed Plants?
A: No. Misting only increases humidity for about ten minutes and can actually encourage fungal diseases on the leaves. Use a humidifier instead.
Q: How do I know if my plant is getting enough light for Building a DIY Humidity Tray for Heat-Stressed Plants?
A: If the plant is stretching (becoming 'leggy'), the leaves are paler than normal, or it's leaning heavily toward the window, it needs more light.