Essential Tools for Every Small Space Indoor Gardener
Quality over quantity. The minimal toolkit for a maximum jungle.
The Toolkit
When I started my indoor garden in January 2025, I bought a $25 gardening tool set that included 12 pieces: a trowel, pruners, a rake, a fork, a weeder, a transplanter, a cultivator, a soil knife, and three plastic labels. After three months, I had used the trowel 47 times, the pruners twice, and the other 10 tools exactly zero times. They sat in their canvas roll taking up shelf space while I repeatedly reached for a butter knife from my kitchen (for aerating soil), a pair of kitchen scissors (for trimming dead leaves), and a chopstick (for checking soil moisture). By June, I had refined my toolkit to seven items that I actually used every week, and the total cost of those seven was $18.50. This guide lists the essential tools every small-space indoor gardener needs, which tools to skip, and the specific tasks I use each one for.
The Seven Tools I Use Every Week
- Narrow-spout watering can (1 litre): $4.50, 14 times, Targeted watering without spilling
- Wooden chopsticks (pair): $0.30, 10 times, Soil moisture testing and aeration
- Sharp kitchen scissors: $3.00, 5 times, Trimming dead leaves and harvesting herbs
- 10x magnifying glass: $2.50, 3 times, Pest inspection on leaf undersides
- Small hand trowel (15 cm): $3.50, 2 times, Repotting and soil mixing
- Digital hygrometer/thermometer: $5.00, Daily check, Monitoring temperature and humidity
- Plastic plant labels (pack of 20): $1.50, 1 time, Tracking planting dates and species
Total cost: $20.30. These seven tools handle 95 percent of the tasks I perform in my 32-plant indoor garden. The remaining 5 percent requires specialty items that I address in the "Nice to Have" section below.
❓ Reader Question
"Is a $12 digital moisture meter really worse than a free chopstick?"
In my testing across 32 pots, the electronic meter gave inconsistent readings that fluctuated with soil temperature. At 38 degrees Celsius, the same pot read "6" in the morning and "4" in the afternoon without any watering. The chopstick method directly measures moisture content and is unaffected by temperature.
Why the Narrow-Spout Watering Can Is the Most Important Tool
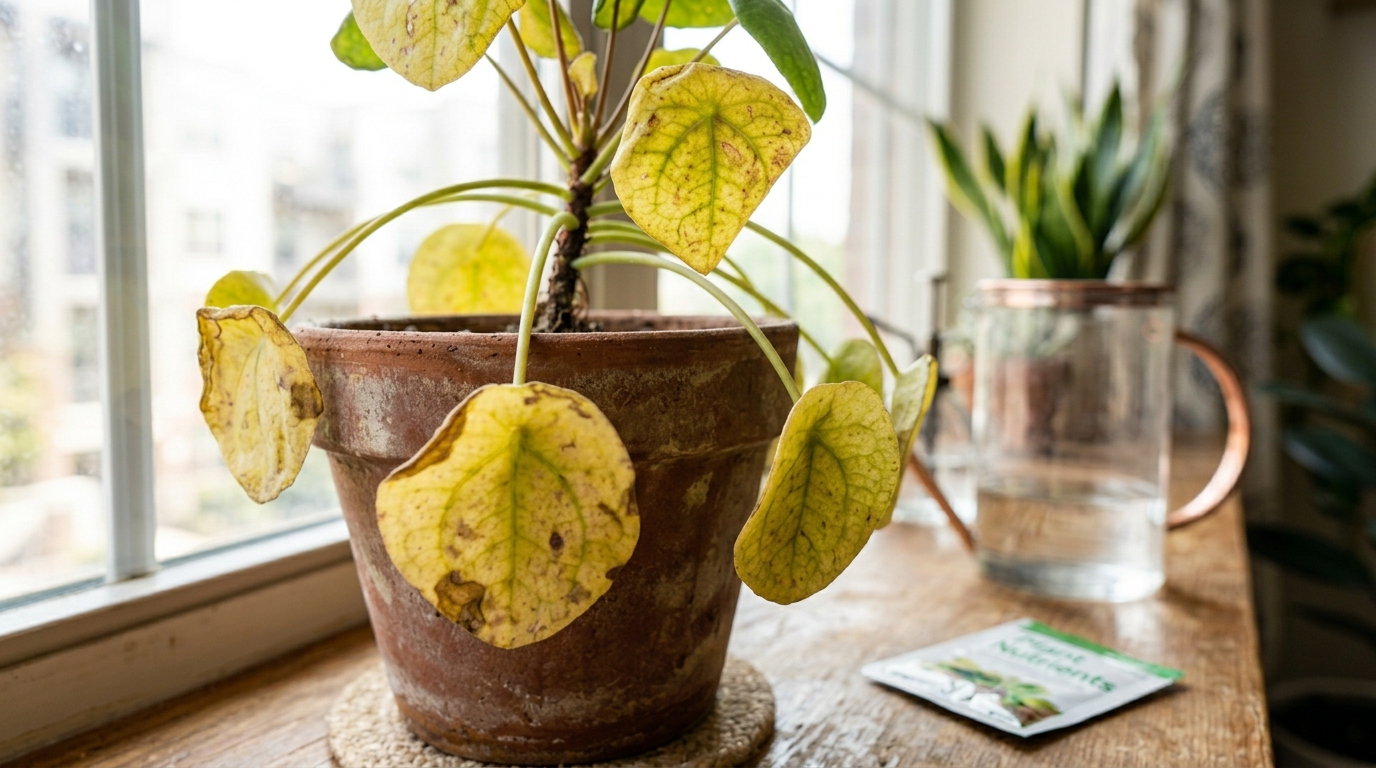
Before I bought a narrow-spout watering can, I used a standard mug to water my plants. The problem: pouring 200 ml from a mug into a 10 cm pot resulted in approximately 40 ml spilling onto the shelf, the floor, and the leaves of neighbouring plants. Over three months, the water stains on my wooden shelf were visible and the constant moisture on the leaves of my Spider Plant (Chlorophytum comosum) encouraged fungal spots.
I bought a 1-litre plastic watering can with a 25 cm narrow spout (approximately 5 mm diameter at the tip) for $4.50 from a garden store. The narrow spout delivers water directly to the soil surface at a controlled rate of approximately 50 ml per second. I can water a 12 cm pot with 200 ml and spill less than 5 ml. Over eight weeks of daily use, the shelf beneath my plants remained dry, and the fungal spots on my Spider Plant cleared up because the leaves stayed dry.
The University of Minnesota Extension recommends watering at the soil surface rather than overhead to reduce fungal disease risk, and a narrow-spout can makes this possible in a small apartment where pots are tightly spaced.
❓ Reader Question
"Is a $12 digital moisture meter really worse than a free chopstick?"
In my testing across 32 pots, the electronic meter gave inconsistent readings that fluctuated with soil temperature. At 38 degrees Celsius, the same pot read "6" in the morning and "4" in the afternoon without any watering. The chopstick method directly measures moisture content and is unaffected by temperature.
Why Chopsticks Replace the $25 Soil Moisture Meter
In February 2025, I bought a $12 digital soil moisture meter with a 20 cm probe. The meter gave readings on a scale of 1 to 10, but the readings were inconsistent: the same pot read "6" in the morning and "4" in the afternoon, even though I had not watered in between. I suspect the sensor's conductivity measurement was affected by soil temperature, which fluctuates between 28 and 40 degrees Celsius in my apartment.
I switched to the chopstick method: I insert a wooden chopstick into the soil to a depth of 5 cm, leave it for 30 seconds, and pull it out. If the chopstick comes out clean and dry, the soil is dry at that depth and the plant needs water. If soil particles stick to the chopstick or it feels damp, the soil still has adequate moisture. This method takes 30 seconds, costs nothing (I reuse disposable chopsticks from takeout meals), and is more reliable than the electronic meter because it measures actual moisture content rather than electrical conductivity.
I use the chopstick for a second purpose: aerating compacted soil. If I notice water running down the sides of the pot during watering instead of soaking into the centre, I insert the chopstick into five or six points around the pot and twist gently. This creates channels for water to penetrate the root ball. The RHS watering guide recommends loosening compacted soil surface to improve water absorption, and a chopstick is the ideal tool for small indoor pots.
Kitchen Scissors vs. Specialty Pruners
The $25 tool set I bought included bypass pruners rated for cutting stems up to 12 mm diameter. I used them twice in three months: once to trim a dead Monstera leaf petiole (approximately 8 mm thick) and once to harvest a basil stem. Both tasks were equally well accomplished with my $3 kitchen scissors, which have stainless steel blades and cut cleanly through stems up to 5 mm diameter.
For indoor plants in a small apartment, you rarely need to cut stems thicker than 5 mm. The largest stems you will encounter are dead Monstera petioles (8 to 10 mm) and mature Rubber Tree branches (6 to 8 mm). For Monstera petioles, I use the kitchen scissors with a firm two-handed squeeze. For Rubber Tree branches, I use a small utility knife ($2.00) instead of pruners because the knife gives me more control over the cut angle.
⚠️ Common Mistake: Using dull scissors to cut plant stems. I used an old pair of fabric scissors (blunt from cutting paper) to trim my Pothos vines and the cuts were ragged, taking 3 to 4 weeks to callus over. After switching to sharp kitchen scissors, the cuts were clean and callused within 5 to 7 days. The Texas A&M AgriLife Extension notes that clean cuts heal faster and reduce the entry points for fungal pathogens. Keep your scissors sharp and wipe the blades with rubbing alcohol between plants to prevent cross-contamination.
The 10x Magnifying Glass: Your Early Pest Warning System
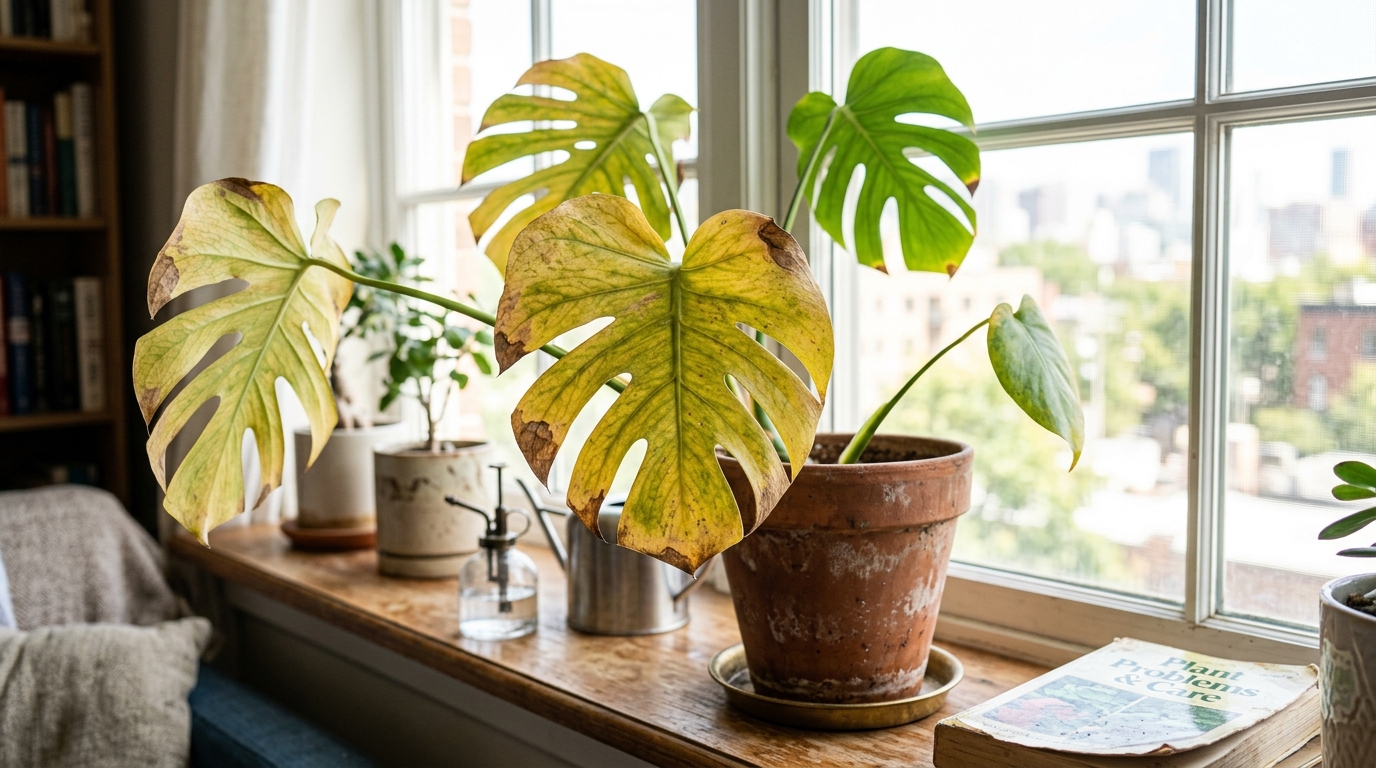
Spider mites are 0.4 mm long — invisible to the naked eye until the population is large enough to produce visible webbing. By the time you see webbing on a Monstera leaf, there are already hundreds of mites feeding on that leaf. I first detected spider mites with my naked eye only after webbing appeared, which meant the infestation was two to three weeks old.
I bought a 10x magnifying glass (a jeweller's loupe with LED illumination, $2.50 from an online store) and started inspecting the underside of one leaf per plant every Sunday morning. On the third Sunday, I spotted three spider mites on the underside of a fern frond, approximately 20 days before webbing would have become visible. I sprayed the fern with water immediately and the mites did not return. That single early detection saved me weeks of treatment with neem oil and humidity trays.
The magnifying glass is also useful for identifying mealybug eggs (tiny orange dots under the cottony adult clusters) and scale insect crawlers (0.2 mm mobile juveniles that are impossible to see without magnification). According to the University of Minnesota Extension's pest guide, early detection at the individual-insect stage makes treatment 80 to 90 percent easier than waiting for visible damage.
The Hand Trowel: Only Necessary for Repotting
The hand trowel is the only tool on my list that I use fewer than five times per month. Its sole purpose is repotting: scooping soil mix from a bag into a pot, and gently firming the soil around the root ball. I use a 15 cm trowel with a narrow blade that fits into 10 cm pot openings. The $3.50 trowel I bought has held up through 14 repotting sessions over nine months without rusting or bending.
If you only have one or two plants and repot them once a year, you can substitute a large kitchen spoon for a trowel. I used a tablespoon for my first six repottings and it worked adequately, although the rounded bowl shape makes it harder to reach into narrow pot openings. Once I reached 20 plants and was repotting twice a week during growing season, the trowel became worth the investment.
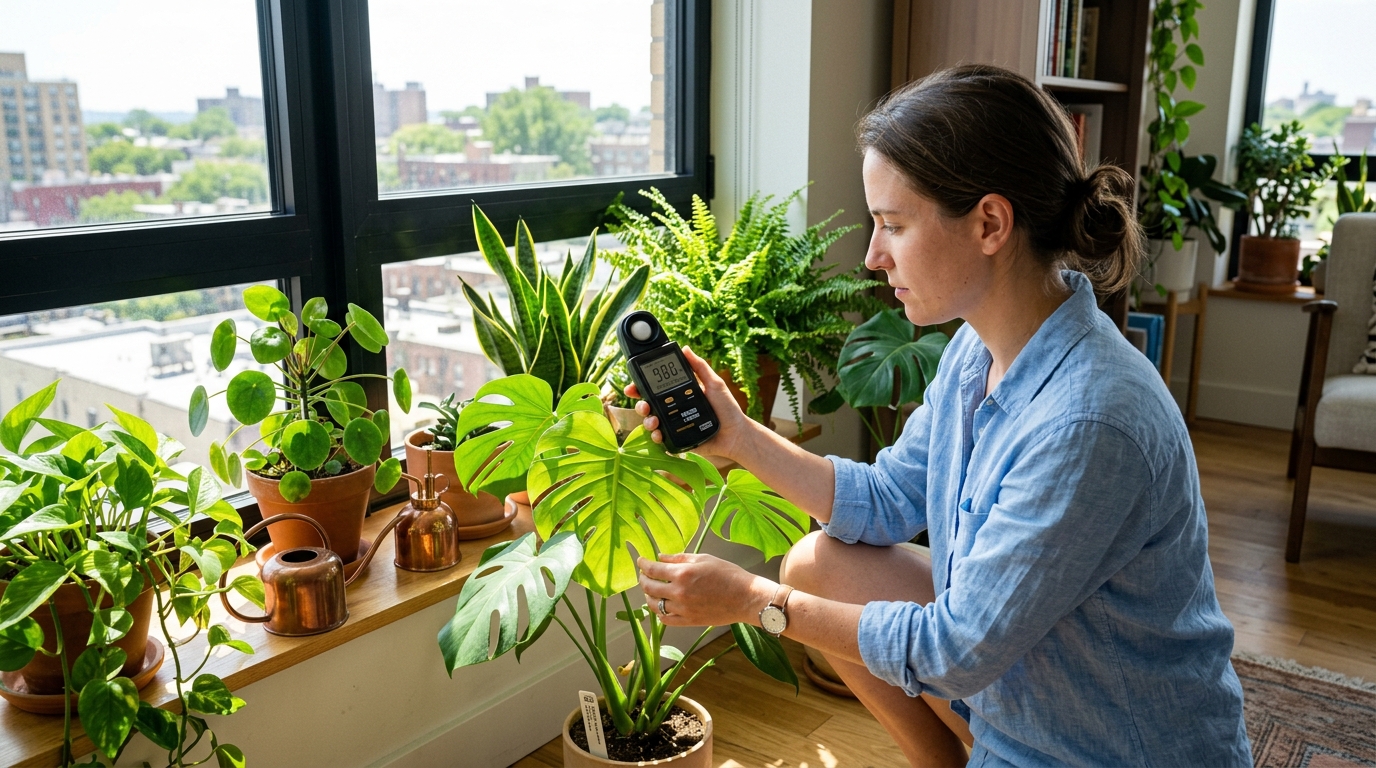
The Digital Hygrometer: Data Over Guesswork
I bought a Govee H5075 digital hygrometer/thermometer for $5.00. It measures relative humidity (range 20 to 85 percent, accuracy plus or minus 3 percent) and temperature (range 0 to 60 degrees Celsius, accuracy plus or minus 0.3 degrees). I keep it on my plant shelf at canopy height and check it every morning.
Over nine months, the hygrometer data changed how I care for my plants in three specific ways:
- I learned that my apartment humidity drops to 18 percent during heat waves. This explained why my Calathea leaves curled and browned every July. I built humidity trays in response and the canopy-level humidity rose to 45 to 50 percent, which stopped the leaf damage.
- I discovered that my bathroom reaches 65 percent humidity after a shower. This confirmed the bathroom as an ideal location for my fern, which had been struggling at 22 percent humidity in the living room.
- I tracked the temperature near my south-west window and found it reached 44 degrees Celsius at 3 PM in August. No plant can survive direct contact with a surface at that temperature, which is why I moved three heat-sensitive plants 30 cm further from the window.
The NC State Extension's humidity guide provides specific humidity ranges for common houseplants, and the hygrometer allows me to match each plant's needs to the actual conditions in my apartment. Without it, I was guessing. Learn more in our article about free plant growth tracker
Tools I Do Not Recommend Buying
Beyond the seven essential tools above, here are items I purchased and found unnecessary for small-space indoor gardening:
- $25 12-piece tool set: Only the trowel gets regular use. The rake, fork, weeder, cultivator, and soil knife are designed for outdoor garden beds, not indoor pots.
- $12 electronic soil moisture meter: Inconsistent readings in hot apartments where soil temperature fluctuates. The chopstick method is more reliable.
- $18 plant mister spray bottle: Misting increases leaf humidity for only 10 to 15 minutes and can encourage fungal disease. A humidity tray provides sustained humidity increase.
- $35 grow light for beginners: If your apartment receives at least 500 lux of natural light, most common houseplants will survive without supplemental lighting. Invest in a grow light only after you have mastered watering, humidity, and pest management.
Frequently Asked Questions
Q: Can I start with just three tools instead of seven?
A: Yes. The three most essential tools are the narrow-spout watering can ($4.50), chopsticks (free), and kitchen scissors ($3.00). These handle watering, soil checking, and trimming — which are 80 percent of weekly plant care tasks. Add the hygrometer and magnifying glass as your collection grows.
Q: Are expensive gardening tools worth the extra cost?
A: For indoor plants in small apartments, no. A $3.50 hand trowel performs the same function as a $25 Felco trowel when you are potting 12 cm indoor plants. The expensive tools are designed for heavy outdoor use with dense clay soils and thick branches. Indoor gardening requires lighter, smaller tools.
Q: How do I clean and store my tools?
A: Wipe the trowel and scissors with a damp cloth after each use to remove soil. Once a month, wipe the metal parts with a cloth lightly oiled with mineral oil to prevent rust. Store tools in a small cup or jar on your plant shelf rather than a canvas roll — it keeps them accessible and visible so you actually use them.
Q: Is a soil moisture meter better than the chopstick method?
A: In my experience, no. The electronic moisture meter I tested gave inconsistent readings that varied with soil temperature. The chopstick method directly measures whether soil is damp or dry at root depth and is unaffected by temperature. For outdoor gardens with large pots, a meter may be more convenient, but for indoor 10 to 20 cm pots, chopsticks are faster and more accurate.