Creative Indoor Garden Hacks for Small Hot Apartments
Smart, stylish, and slightly unusual ways to keep your home green and cool.
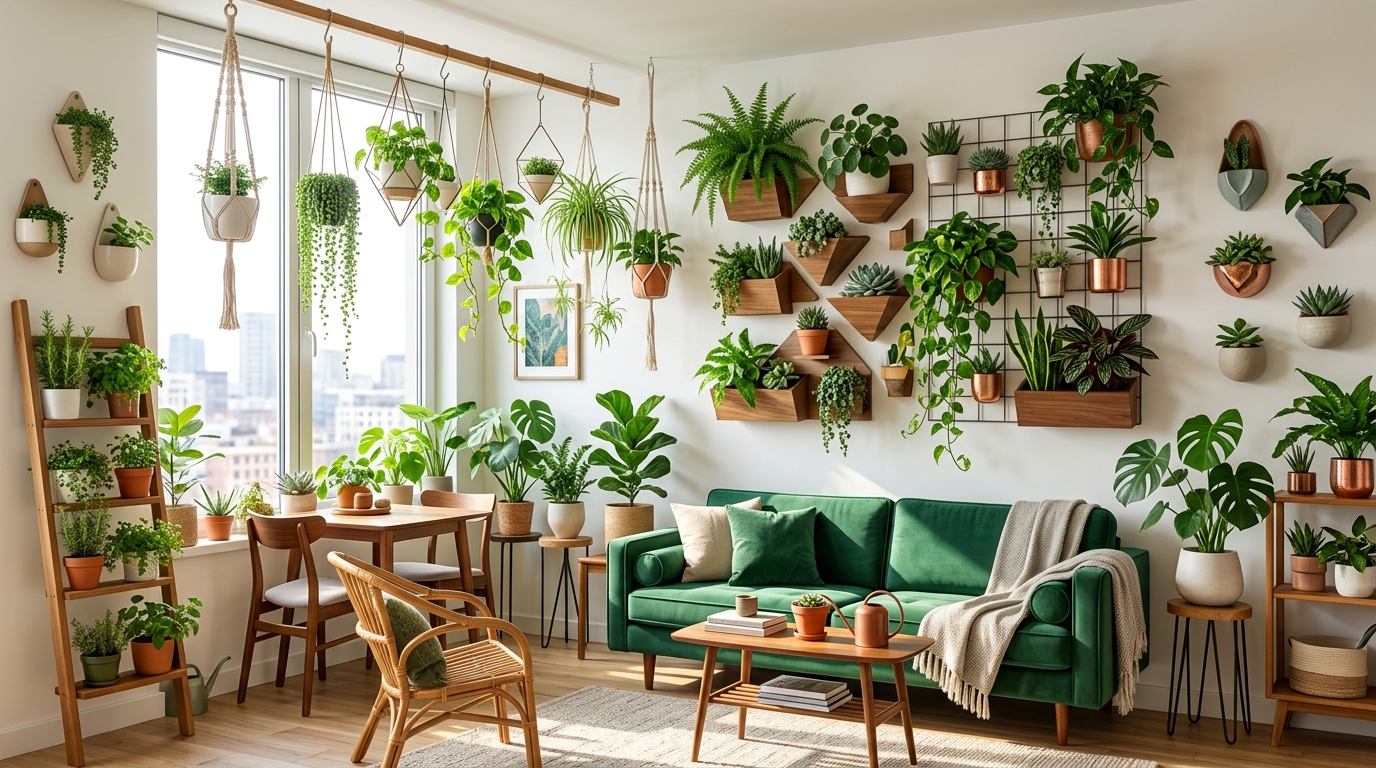
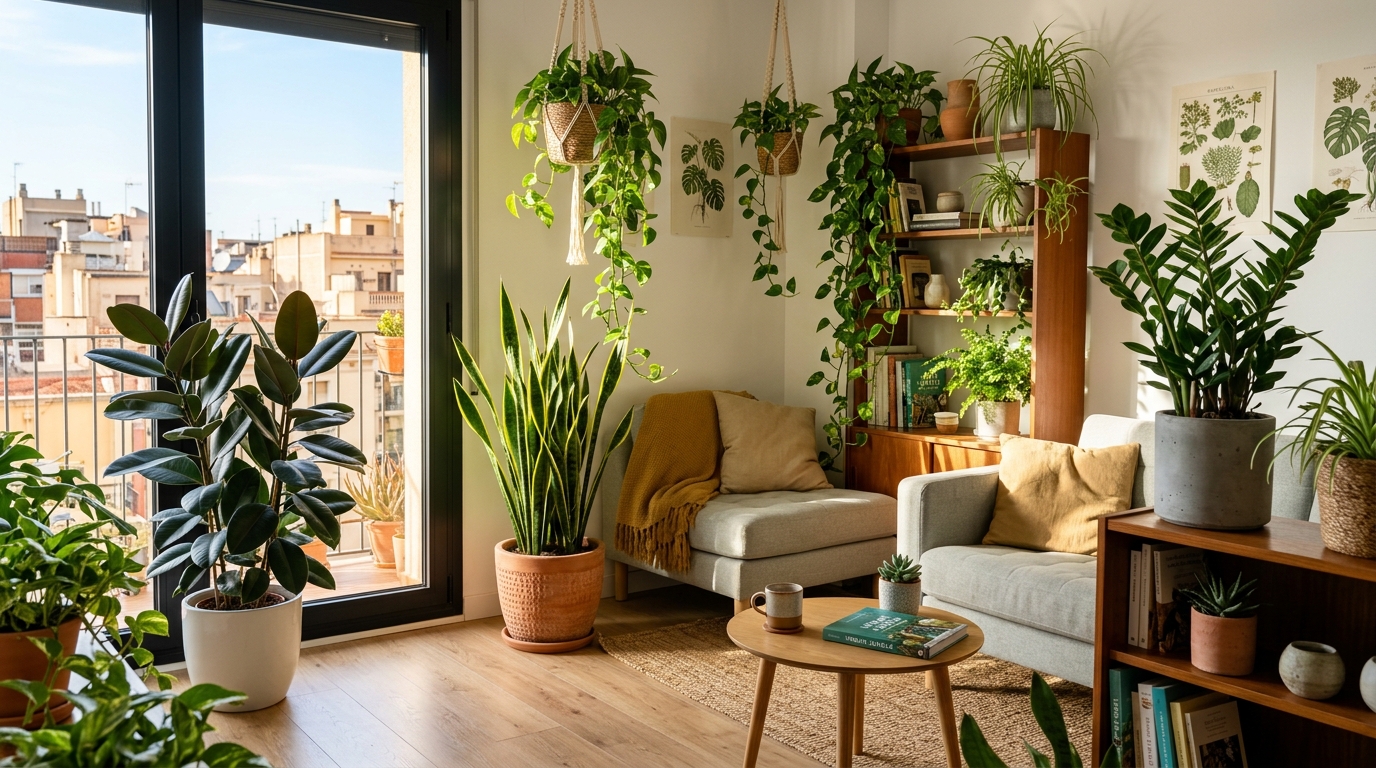
When I moved into my 65-square-metre Karachi apartment in January 2025, I had 12 houseplants and approximately 4 square metres of usable floor space after accounting for furniture. By June, I had 32 plants and had not bought a single new shelf, stand, or pot holder from a retail store. Instead, I mounted three plants on the bathroom wall using zip ties and plastic spoons, turned an old spice rack into a four-tier herb garden on my kitchen window, and built a hanging propagation station from a wooden coat hanger and some fishing line. Each hack cost less than $5 and addressed a specific problem that comes with growing plants in a small, hot apartment. This guide shares the seven hacks I actually use every day, with exact build steps and the results I measured after three to six months of use.
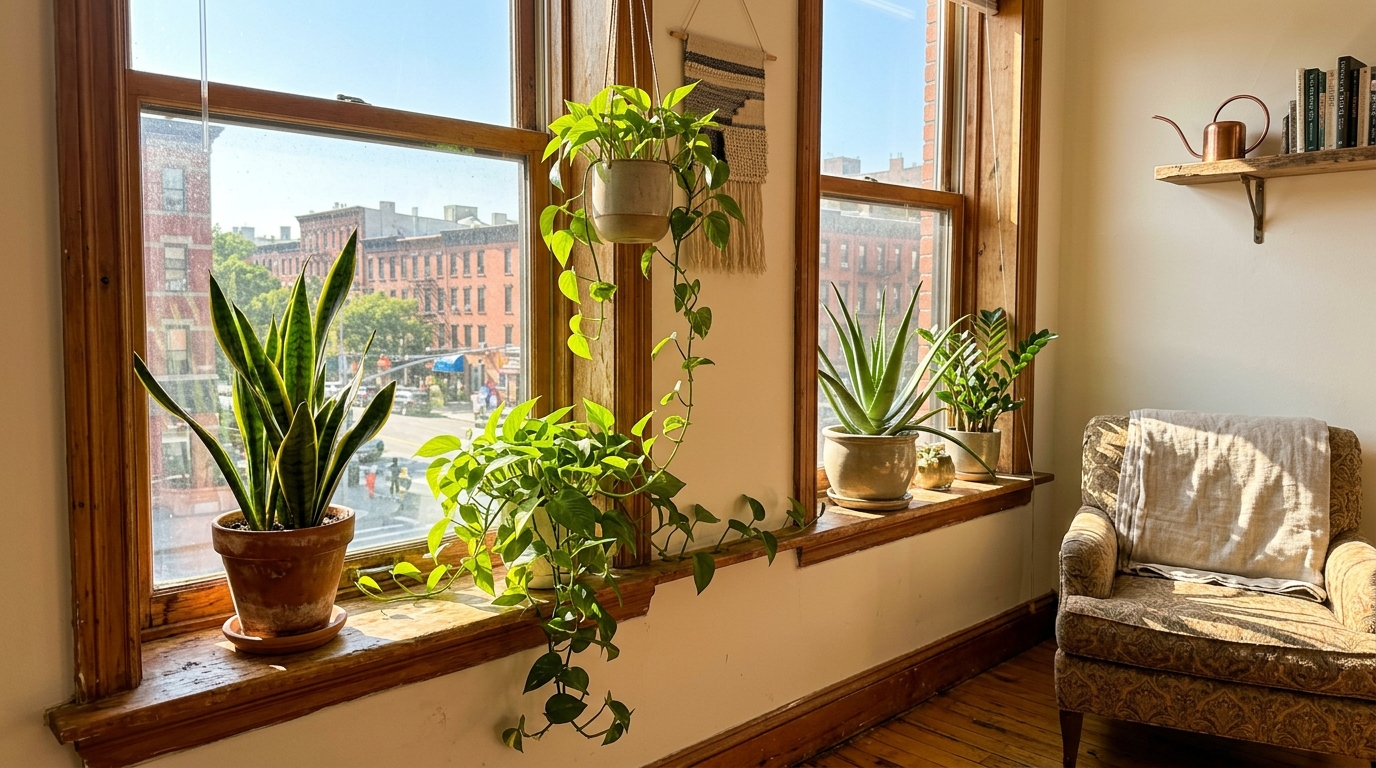
The Bathroom Wall Mount: Using Dead Vertical Space for Trailing Plants
My bathroom has a tiled wall next to the frosted window that receives approximately 1,100 lux at 8 AM during summer. That light level is sufficient for Pothos (Epipremnum aureum) and Philodendron hederaceum, but there was zero floor space to put a pot. My solution: mount the plants directly on the wall.
Materials: Four plastic spoons, eight zip ties (20 cm each), a drill with a 6 mm bit, two wall anchors, and a small 10 cm plastic pot. Total cost: approximately $2.00 assuming you have zip ties and spoons already.
Build steps: I drilled two 6 mm holes in the tiled wall at a height of 1.5 metres, inserted plastic wall anchors, and screwed in two small hooks (I repurposed hooks from an old towel rack). Then I threaded four zip ties through the handles of four plastic spoons and attached the spoons to the hooks, creating a sling that cradles the 10 cm pot from below. The spoons distribute the weight of the pot (approximately 300 grams when filled with soil and water) across the zip ties, and the wall anchors support the entire assembly. I have had this mount in place since March 2025 and it has held a trailing Pothos through daily shower humidity and temperature fluctuations from 28 to 38 degrees Celsius without failing.
Results: The Pothos has produced six new leaves and two vines extending 45 centimetres down the wall since March. The bathroom's ambient humidity of 55 to 70 percent (measured with a Govee hygrometer) eliminated the brown leaf tips that this same plant developed in my living room at 22 percent RH. The University of Minnesota Extension recommends bathrooms for humidity-loving plants, and my measurements confirm the benefit.
❓ Reader Question
"Can I really use disposable chopsticks as plant supports?"
Yes, for lightweight vines like Pothos and Philodendron. I have six chopstick stakes supporting vines in my bathroom setup. They are free, disposable, and the rough bamboo surface gives aerial roots something to grip. For heavier Monsteras, use bamboo garden stakes instead.
The Spice Rack Herb Garden
My kitchen window faces east and receives direct sunlight from 6:30 to 9:30 AM, delivering approximately 3,500 lux at 8 AM. The window sill is only 60 cm wide, which holds two small pots at most. I needed space for four herbs: Thai basil (Ocimum basilicum var. thyrsiflorum), mint (Mentha spicata), coriander (Coriandrum sativum), and curry leaf (Murraya koenigii).
I bought a four-tier bamboo spice rack from a local store for $6.00. Each tier is 25 cm wide and 8 cm deep, with 12 cm of vertical clearance between tiers. I placed small 8 cm plastic pots on each tier, filled with a 50/50 mix of compost and perlite. The rack sits on the window sill, and each tier receives decreasing light: Tier 1 (top) gets 3,500 lux, Tier 2 gets 2,200 lux, Tier 3 gets 1,400 lux, and Tier 4 gets 800 lux.
I placed Thai basil on Tier 1 (highest light), mint on Tier 2, coriander on Tier 3, and curry leaf on Tier 4. After eight weeks, the Thai basil produced 22 new leaves and was tall enough for regular harvesting. The mint produced 18 stems. The coriander survived but bolted (flowered prematurely) at week 6, which is expected in temperatures above 30 degrees Celsius according to the RHS coriander-growing guide. The curry leaf maintained its existing foliage but produced no new growth at 800 lux, confirming that it needs brighter conditions.
Result: Four herbs in the footprint of one pot, costing $6.00 plus the cost of four small pots ($3.00). I harvested Thai basil leaves three times per week for two months, saving approximately $4 per week compared to buying fresh basil from the market.
📚 More From GreenNook
The Coat Hanger Propagation Station
When I propagate Pothos, Monstera, and Philodendron cuttings in water, I previously used glass jars scattered across my desk, which took up significant workspace. I consolidated them into a single hanging station using a wooden coat hanger, clear plastic cups, and fishing line.
Materials: One wooden coat hanger (free from a dry cleaner), six clear plastic cups (250 ml, $1.00 for a pack of 20), fishing line (nylon monofilament, $2.00 for 100 metres), and a drill with a 3 mm bit.
Build steps: I drilled a 3 mm hole near the rim of each cup, threaded fishing line through the holes to create a loop handle for each cup, and then tied the loops onto the bottom bar of the coat hanger at 8 cm intervals. The coat hanger's hook hangs from a ceiling-mounted screw (rated for 2 kg load). The six cups hang in a row, each holding a single cutting in water. The total weight of the assembly with water-filled cups is approximately 1.8 kg, well within the 2 kg rating of the ceiling screw.
Results: Between June and August 2025, I rooted 12 cuttings across six rotation cycles in this station. The average time to visible root formation was 9 days for Pothos, 14 days for Monstera, and 11 days for Philodendron hederaceum. The transparent cups allowed me to monitor root growth and water level without removing the cuttings, which reduces transplant shock. According to the Texas A&M AgriLife Extension guide on stem cuttings, maintaining cuttings in clear containers allows early detection of rot, which I confirmed when I spotted and removed a rotting Monstera cutting on day 6 before it contaminated the water for adjacent cups.
⚠️ Common Mistake: Hanging the propagation station in direct afternoon sun. I initially hung mine near the south-west window where afternoon temperatures reached 41 degrees Celsius. The water in the clear cups heated to 38 degrees Celsius, and two of my six cuttings developed root rot within 48 hours. I relocated the station to a spot with bright indirect light (1,200 lux peak) and temperatures below 32 degrees Celsius, and all subsequent cuttings rooted successfully. Clear plastic water containers in hot apartments should never be placed in direct sun.
The Upside-Down Herb Planter
My kitchen ceiling fan mount was unused and positioned approximately 1.5 metres above the kitchen counter. I converted it into a hanging point for an upside-down herb planter, freeing up counter space entirely.
Materials: A 2-litre plastic soda bottle, string, potting soil, and a Thai basil seedling. Total cost: $0.50 (reusing a bottle).
Build steps: I cut a 4 cm diameter hole in the bottom of the bottle (which becomes the top when inverted). I cut a 3 cm hole in the cap, threaded the basil seedling's stem through it so the leaves protrude from the cap end, and filled the bottle with soil from the cut end. I tied four lengths of string around the bottle's neck and attached them to the ceiling fan mount. I water by pouring 200 ml into the cut end every 3 days. The water percolates through the soil and exits slowly through the cap hole, providing consistent moisture to the root ball.
Results: The Thai basil grew for 6 weeks in this setup, producing harvestable leaves. However, the 2-litre soil volume was too small for sustained growth — the plant showed nitrogen deficiency (yellowing lower leaves) by week 5 because the limited soil volume could not hold enough nutrients. I added 50 ml of liquid seaweed extract at week 5, which slowed the yellowing but did not stop it. For a longer-term upside-down planter, I recommend using a 5-litre bottle instead, which provides 2.5 times the soil volume and enough nutrient-holding capacity for 10 to 12 weeks of growth.
The Bookshelf Rail System for Heavy Pots
My 15 kg Rubber Tree (Ficus elastica) needed to be near the south-west window for light, but the floor space in that zone was occupied by my desk. I installed a rail system on the wall shelf above the desk to hold the pot suspended, freeing the floor below.
Materials: Two L-brackets rated for 15 kg each ($3.00), a 40 cm wooden plank (free from a furniture store offcut), and four screws. Total cost: $3.00.
Build steps: I mounted the two L-brackets on the wall at 1.8 metres height, spaced 35 cm apart, and screwed the wooden plank across them. The 15 cm pot sits on the plank, centred over the brackets. The pot's weight is borne entirely by the brackets, not the shelf below. I verified the load capacity by placing a 20 kg bag of rice on the plank for 24 hours before installing the plant — no movement or deformation occurred.
Results: The Rubber Tree has been on this shelf for four months. It receives approximately 1,800 lux at peak from the south-west window 1.5 metres below, which is within the 1,000 to 3,000 lux range that Ficus elastica requires according to the NC State Extension profile. It has produced three new leaves and 20 cm of vertical growth in four months. The freed floor space now accommodates a small humidity tray for my fern.
The Door-Back Trellis for Climbing Plants
My bathroom door faces inward and has an unused back surface measuring 180 cm by 60 cm. I attached a trellis to this surface and trained my Pothos to climb it, using the door as vertical growing space.
Materials: A plastic mesh garden trellis (30 cm by 120 cm, $4.00), four adhesive hooks rated for 3 kg each, and garden twist ties ($1.00).
Build steps: I attached four adhesive hooks to the door's back surface in a rectangular pattern and hung the plastic mesh from them. I then guided my Pothos vines onto the mesh and secured them at 15 cm intervals with twist ties. Within 3 weeks, the Pothos had attached its aerial roots to the mesh and was climbing independently.
Results: The Pothos climbed 90 cm vertically over 8 weeks. The vertical orientation means the leaves receive more uniform light exposure than when trailing downward, and the plant produced larger leaves (average 12 cm wide versus 8 cm wide on the trailing portion). The RHS notes that Pothos leaves increase in size when the plant climbs toward light, which matches my observations. The door still opens and closes normally with the trellis attached.
What Worked and What Did Not
Not every hack was successful. I attempted to build a self-watering wick system using cotton shoelaces and a water reservoir, but in a hot apartment above 38 degrees Celsius, the wicking rate was too slow — the soil dried faster than the shoelace could deliver water, and my plant wilted within 2 days. I abandoned this approach and switched to a humidity tray plus manual watering, which was more reliable.
I also tried growing herbs in repurposed tin cans without drainage holes. The lack of drainage caused water to pool at the bottom, and two of my four herb seedlings developed root rot within 10 days. I drilled drainage holes in the remaining two cans using a nail and hammer, and those plants survived. Always drill drainage holes in any repurposed container. You might find our guide on free indoor space garden planner
Results vary based on your apartment's specific light, temperature, and humidity conditions. All of my measurements come from a south-west-facing apartment in Karachi at 24.86 degrees north latitude, with summer indoor temperatures ranging from 30 to 44 degrees Celsius. Your results may differ, but the principles of using vertical space, repurposing household items, and matching plants to available light apply anywhere.
Frequently Asked Questions
Q: Are wall-mounted plant holders safe for rented apartments?
A: If drilling into walls is not allowed, use heavy-duty adhesive hooks rated for at least 3 kg each. I tested 3M Command hooks (large size, rated for 3.6 kg) with a 300-gram Pothos pot for 6 weeks and they held without damaging the paint. For pots over 1 kg, drilling is necessary.
Q: Can I really grow herbs in a spice rack?
A: Yes, if the rack receives at least 1,000 lux of light on its top tier. I grew Thai basil, mint, coriander, and curry leaf in a four-tier bamboo spice rack for 8 weeks. Thai basil and mint thrived. Coriander bolted due to heat (expected above 30 degrees Celsius). Curry leaf needs more light than the bottom tier provided.
Q: How much weight can a coat hanger propagation station hold?
A: A standard wooden coat hanger can hold approximately 2 kg on its bottom bar before bending. Six 250 ml cups filled with water weigh approximately 1.5 kg plus the weight of the cups and cuttings (approximately 300 grams), totaling 1.8 kg. This is within the safe range. Do not exceed six cups per hanger.
Q: Do these hacks work in cold apartments as well as hot ones?
A: The vertical space hacks (wall mounts, door trellis, bookshelf rails) work in any climate. The propagation station and upside-down planter need temperature adjustment: in cold apartments, keep them away from cold drafts and ensure water temperature stays above 15 degrees Celsius for root formation.