Easy DIY Indoor Garden Shelves for Small Spaces
Elevate your urban jungle (literally) with these clever space-saving builds.
The DIY Plan
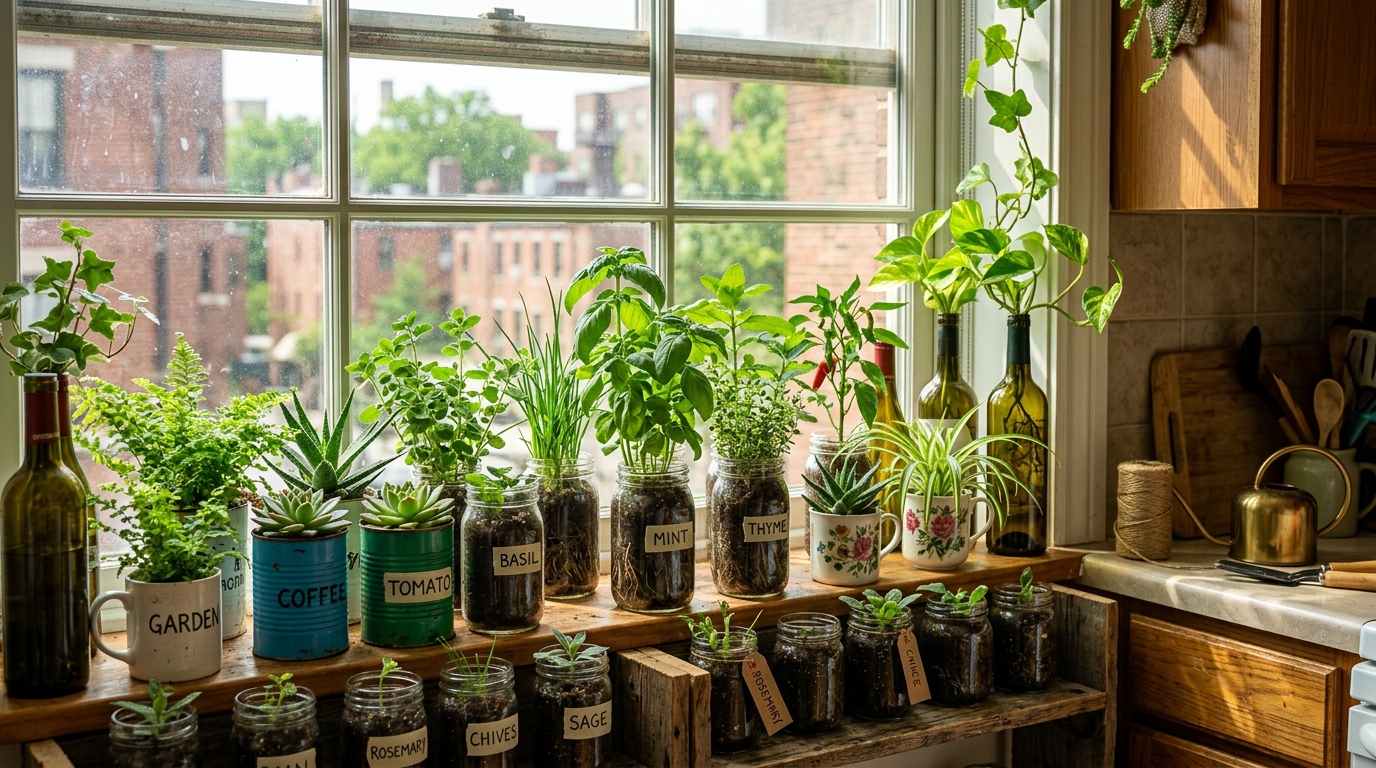
In March 2025, my plant collection outgrew the two windowsills I had been using as display space. I had 18 pots and only 120 cm of window-sill length. My first impulse was to buy a commercial plant shelf, but the cheapest one I found at a local furniture store cost $45 and required a 90-minute assembly with 47 individual parts. Instead, I went to a hardware store with $15 in my pocket and came home with enough wood, brackets, and screws to build three shelves that hold a combined total of 12 pots. Each shelf took approximately 25 minutes to install. After nine months of daily use, all three shelves are still level, still solid, and still holding plants ranging from 200 grams to 4.5 kg. This guide shows you the exact materials and steps for each of the three shelf designs I built.
Shelf Design 1: The Single-Bracket Floating Shelf ($5.50)
This is the simplest shelf I built. It uses two L-brackets and a single plank to create a narrow shelf that holds two to three small pots.
Materials: Two L-brackets (20 cm arm length, rated for 8 kg each, $1.50 each), one wooden plank (50 cm by 15 cm by 2 cm thick, $2.50 from a hardware store's offcut bin), four wall anchors with screws ($1.00 for a pack of eight). Total: $5.50.
Tools needed: Drill with a 6 mm bit, Phillips-head screwdriver, pencil, and a ruler.
Step-by-step:
Step 1: Decide the shelf height. I installed this shelf at 120 cm above the floor, which places it 30 cm above my window sill and within the 2,000 to 4,000 lux zone for my south-west window. Mark two pencil dots on the wall at 120 cm height, spaced 40 cm apart horizontally.
Step 2: Drill 6 mm holes at the pencil marks, 3 cm deep. Insert the plastic wall anchors until they are flush with the wall surface.
Step 3: Hold each L-bracket against the wall with the screw hole aligned to the anchor. Drive a screw through each bracket into the anchor. Tighten until the bracket is firmly attached and does not wiggle.
Step 4: Place the wooden plank on top of the two brackets. The plank simply rests on the brackets — no screws attach the plank to the brackets. Check that the plank is level by placing a small cup of water on it. If the water surface is parallel to the plank, you are good.
Load test: Before placing plants, I put a 10 kg bag of rice on the shelf for 24 hours. The brackets held without deformation and the anchors remained solid in the wall. The RHS recommends verifying shelf stability before placing valuable plants, and this test gave me confidence.
Results after 9 months: This shelf holds three 10 cm pots (a Pothos, a small Spider Plant, and a Peperomia) with a combined weight of approximately 1.2 kg. The shelf has not sagged or shifted. The Pothos vines trail down past the shelf and receive unobstructed light.
Shelf Design 2: The Two-Tier Corner Shelf ($9.00)
My living room has a dead corner where two walls meet, 60 cm from the south-west window. I built a two-tier corner shelf that uses both walls for support, which increases load capacity compared to single-wall brackets.
Materials: Two triangular corner-shelf brackets (25 cm side length, $3.00 each), two wooden planks (35 cm by 25 cm by 2 cm, $1.50 each), eight wall anchors with screws ($1.00). Total: $9.00.
Tools needed: Drill with 6 mm bit, Phillips-head screwdriver, pencil, spirit level (or a phone with a level app).
Step-by-step:
Step 1: Install the bottom bracket first. Hold the triangular bracket in the corner with both arms pressed against the walls. Mark the screw holes with a pencil. Drill, insert anchors, and screw the bracket in place. Use a spirit level to confirm the bracket's top surface is horizontal.
Step 2: Install the top bracket 40 cm above the bottom one. Repeat the same process: mark, drill, anchor, screw. Check level again.
Step 3: Place the wooden planks on each bracket. As with the floating shelf, the planks rest on the brackets without fasteners. The triangular shape of the brackets supports the planks across their full area.
Dimensions: Each shelf is 35 cm wide at the front edge and 25 cm deep. The two tiers are 40 cm apart vertically. Each tier holds two 12 cm pots comfortably, or one 15 cm pot.
Results: I installed this corner shelf in April 2025. The bottom tier holds a 15 cm Peace Lily (Spathiphyllum wallisii) weighing 2.8 kg. The top tier holds two 10 cm pots (a Chinese Evergreen and a small fern) weighing 0.9 kg combined. The corner-mount design distributes weight across two walls, and after nine months there is zero sagging. The University of Minnesota Extension notes that corner placement can reduce light by 15 to 20 percent compared to a wall parallel to the window, but in my apartment the corner is only 60 cm from the window, so the light loss is minimal (approximately 1,800 lux at peak on the top tier versus 2,200 lux on the wall-mounted shelf).
Shelf Design 3: The Tension-Rod Window Bay Shelf ($7.50)
This shelf requires no drilling at all. It uses spring-loaded tension rods wedged between two walls in a window alcove to create a shelf platform.
Materials: Two spring-loaded tension rods (45 to 70 cm range, $3.00 each), one wooden plank (50 cm by 15 cm by 2 cm, $1.50). Total: $7.50.
Tools needed: None. No drilling, no screws, no anchors.
Step-by-step:
Step 1: Measure the width of your window alcove (the distance between the two walls on either side of the window). My alcove is 55 cm wide.
Step 2: Extend the first tension rod to approximately 57 cm (2 cm longer than the alcove width). Wedge it between the two walls at your desired shelf height. The spring mechanism creates outward pressure that holds the rod in place. I installed the rod at 100 cm above the floor.
Step 3: Install the second tension rod 20 cm above the first one. This creates two support points for the wooden plank.
Step 4: Place the wooden plank across the two rods. The plank rests on the rods and is held in place by friction. Place pots on the plank.
Load capacity: I tested this shelf with 5 kg of weight distributed across the plank. The tension rods held for 48 hours without slipping. I then reduced the load to 3 kg (the weight of two 12 cm pots plus a saucer) for long-term use. The manufacturer rates each rod at 5 kg, but I do not recommend loading to the maximum because the spring mechanism can fatigue over time.
Results: This shelf has been in place since May 2025 and holds two 12 cm pots (a Jade Plant and a small Aloe) with a combined weight of 1.8 kg. The tension rods have not slipped or loosened. The advantage of this design is that it leaves no marks on the walls, making it ideal for rented apartments. The disadvantage is that it requires a window alcove with parallel walls — it will not work on a single flat wall.
⚠️ Common Mistake: Installing tension rods on painted drywall without checking the paint adhesion. In July 2025, I installed a tension rod on a freshly repainted wall and the outward pressure caused the paint to flake and peel at the contact points within three weeks. The rod still held, but the wall looked damaged. If your walls have fresh paint (less than 30 days old), wait before installing tension rods, or place small rubber pads between the rod ends and the wall surface to distribute the pressure.
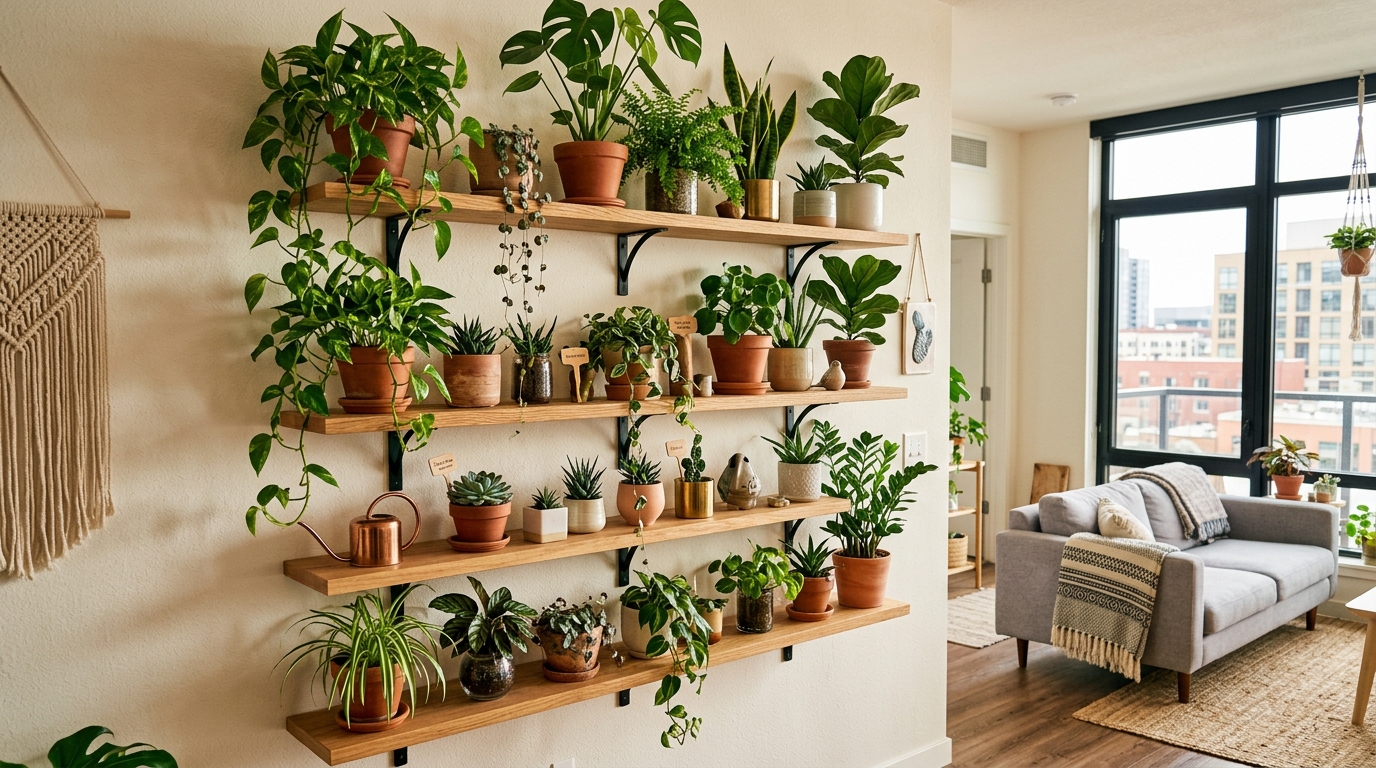
Comparing the Three Shelf Designs
| Shelf Type | Cost | Install Time | Max Load | Wall Damage |
|---|---|---|---|---|
| Single-Bracket Floating | $5.50 | 15 min | 8 kg per bracket | Yes (anchor holes) |
| Two-Tier Corner | $9.00 | 25 min | 10 kg per bracket | Yes (anchor holes) |
| Tension-Rod Window Bay | $7.50 | 5 min | 3 kg (recommended) | No |
For renters, the tension-rod shelf is the only option that leaves zero marks. For homeowners, the bracket-mounted shelves offer higher load capacity and more placement flexibility. The corner shelf holds the most weight because it distributes load across two walls.
What I Got Wrong About DIY Shelves
My first attempt at a floating shelf used a single 60 cm bracket rated for 15 kg. I assumed one bracket in the center of a 50 cm plank would be sufficient. It was not — the plank tipped when I placed a pot on either end because a single support point creates a seesaw effect. I added a second bracket 40 cm from the first, which created a stable two-point support. The Texas A&M AgriLife Extension recommends two support points minimum for any shelf holding multiple pots, and my experience confirms this.
I also underestimated the importance of waterproofing the wood. After six months, the plank on my floating shelf showed water stains where I had overwatered and spilled onto the wood. I sanded the stains lightly and applied a coat of clear polyurethane varnish ($3.00 for a small can), which sealed the wood against future water damage. If you build wooden shelves, varnish them before installing plants.
🌱 Pro Tip: Before drilling any holes, hold the plank and brackets against the wall and place your pots on the plank to simulate the finished shelf. Check that the pots receive adequate light at that position using a lux meter app. I saved myself from installing a shelf in the wrong spot by doing this dry fit — the initial position I chose received only 400 lux, which is too low for most plants. I moved the position 40 cm closer to the window and the reading jumped to 1,600 lux.
When to Buy Instead of Build
DIY shelves are cost-effective for simple, wall-mounted designs. But if you need a freestanding unit that holds 10 or more pots, a commercial metal or bamboo shelving unit may be more practical. A five-tier commercial plant shelf costs $35 to $55 and holds 15 to 20 pots with no wall installation required. Building an equivalent freestanding unit yourself would cost $25 to $40 in materials and require significantly more time and tools. You might find our guide on creative indoor garden hacks
For one to three shelves holding up to four pots each, DIY is faster and cheaper. For a full plant display unit with 15+ pots, buy commercial.
Frequently Asked Questions
Q: Can I install shelves in a rented apartment without losing my deposit?
A: Bracket-mounted shelves require drilling 6 mm holes, which most landlords consider acceptable wear and tear if filled with spackle before moving out. Tension-rod shelves require no drilling and leave zero marks. Check your lease agreement and, if uncertain, ask your landlord before installing.
Q: How do I know if my wall can support a plant shelf?
A: Drywall with plastic wall anchors holds 6 to 8 kg per anchor. If your shelf uses two brackets (four anchors total), the theoretical capacity is 24 to 32 kg. Your actual load will likely be under 5 kg for three small pots, which is well within capacity. For heavy pots over 10 kg, mount the brackets into wall studs rather than relying on anchors alone.
Q: What type of wood should I use for the shelf plank?
A: Pine is the cheapest option ($2.50 for a 50 cm offcut) and works well for loads under 5 kg. Plywood is stronger and costs slightly more ($3.50 for the same size). For a moisture-prone area like a bathroom shelf, use cedar or treated pine, which resist warping better than untreated pine.
Q: How far apart should I space multiple shelves on the same wall?
A: Allow at least 35 cm of vertical clearance between shelves to accommodate plant growth above the pot. I space my shelves 40 cm apart, which fits a 20 cm tall pot plus 20 cm of growth room. For trailing plants like Pothos, you can reduce the clearance to 30 cm because the growth goes downward, not upward.
Q: Do I need to seal the wood shelf against water?
A: Yes, especially if you water plants directly on the shelf. I applied one coat of clear polyurethane varnish to all three of my shelves, and after nine months there is no water staining or warping. Unsealed pine absorbs water within minutes and shows dark stains after two to three months of occasional spills.